You can change the scenarios used to cost sub-components in an assembly.
Switch a Scenario
-
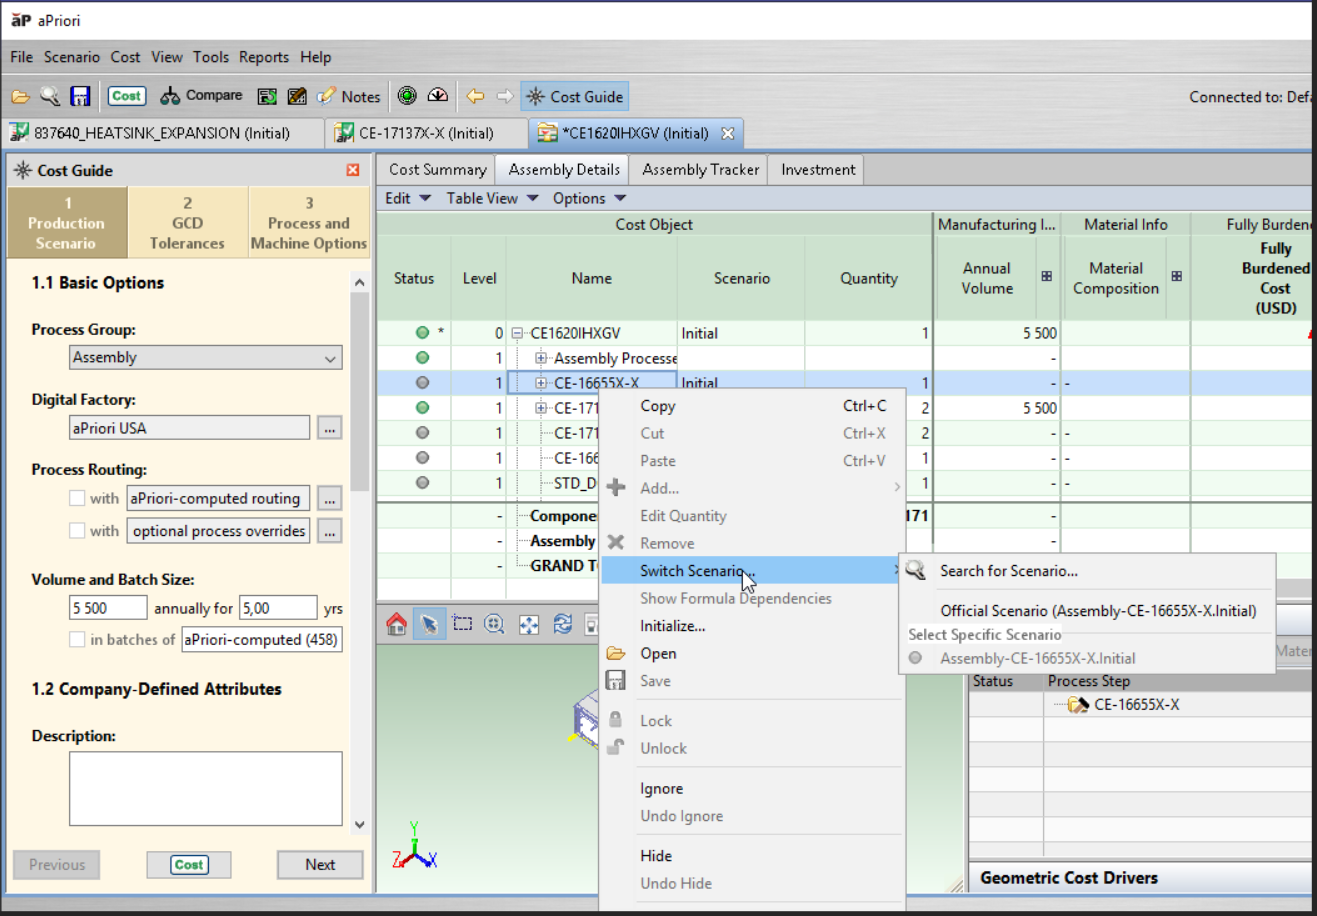
From the Cost Object section of the Assembly Details view, select a sub-component.
-
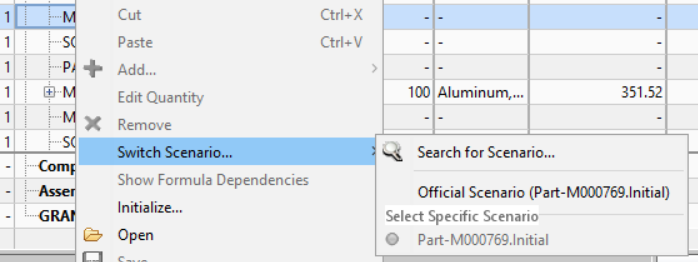
Right-click and select Switch Scenario....
-
Select Search for Scenario..., Official Scenario, or one of the specific scenarios listed:
-
If you switch to an inactive scenario, aPriori warns you that the geometry may not be up to date.
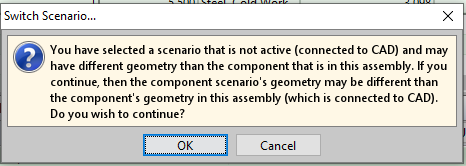
Tip: See Active and Inactive Scenarios for more information.
Switch Multiple Components
You can right-click to select multiple components and switch them to their official scenarios.
Non-official scenarios are not available for switching during multi-select.
Note: When multiple components are selected, the pop-out menu does not display a green status dot next to the currently selected scenario, as the status may be different for each component. A green dot appears only when one component is selected.
Managing Performance
Tip: Optimize performance by managing the number of scenarios you create and keep in your databases when using matrix costing to avoid any issues.
Typically when you right-click on a scenario to switch to a different scenario, aP Pro scans and runs permissions on all scenarios, which can result in a time lag.
The max to search value of 20 and max to display value of 8 are the default values; to edit these values, configure the apriori.properties file, for example:
apriori.menu.switchScenarios.maxToSearch = 20

apriori.menu.switchScenarios.maxToDisplay = 8